1. Add Prescription
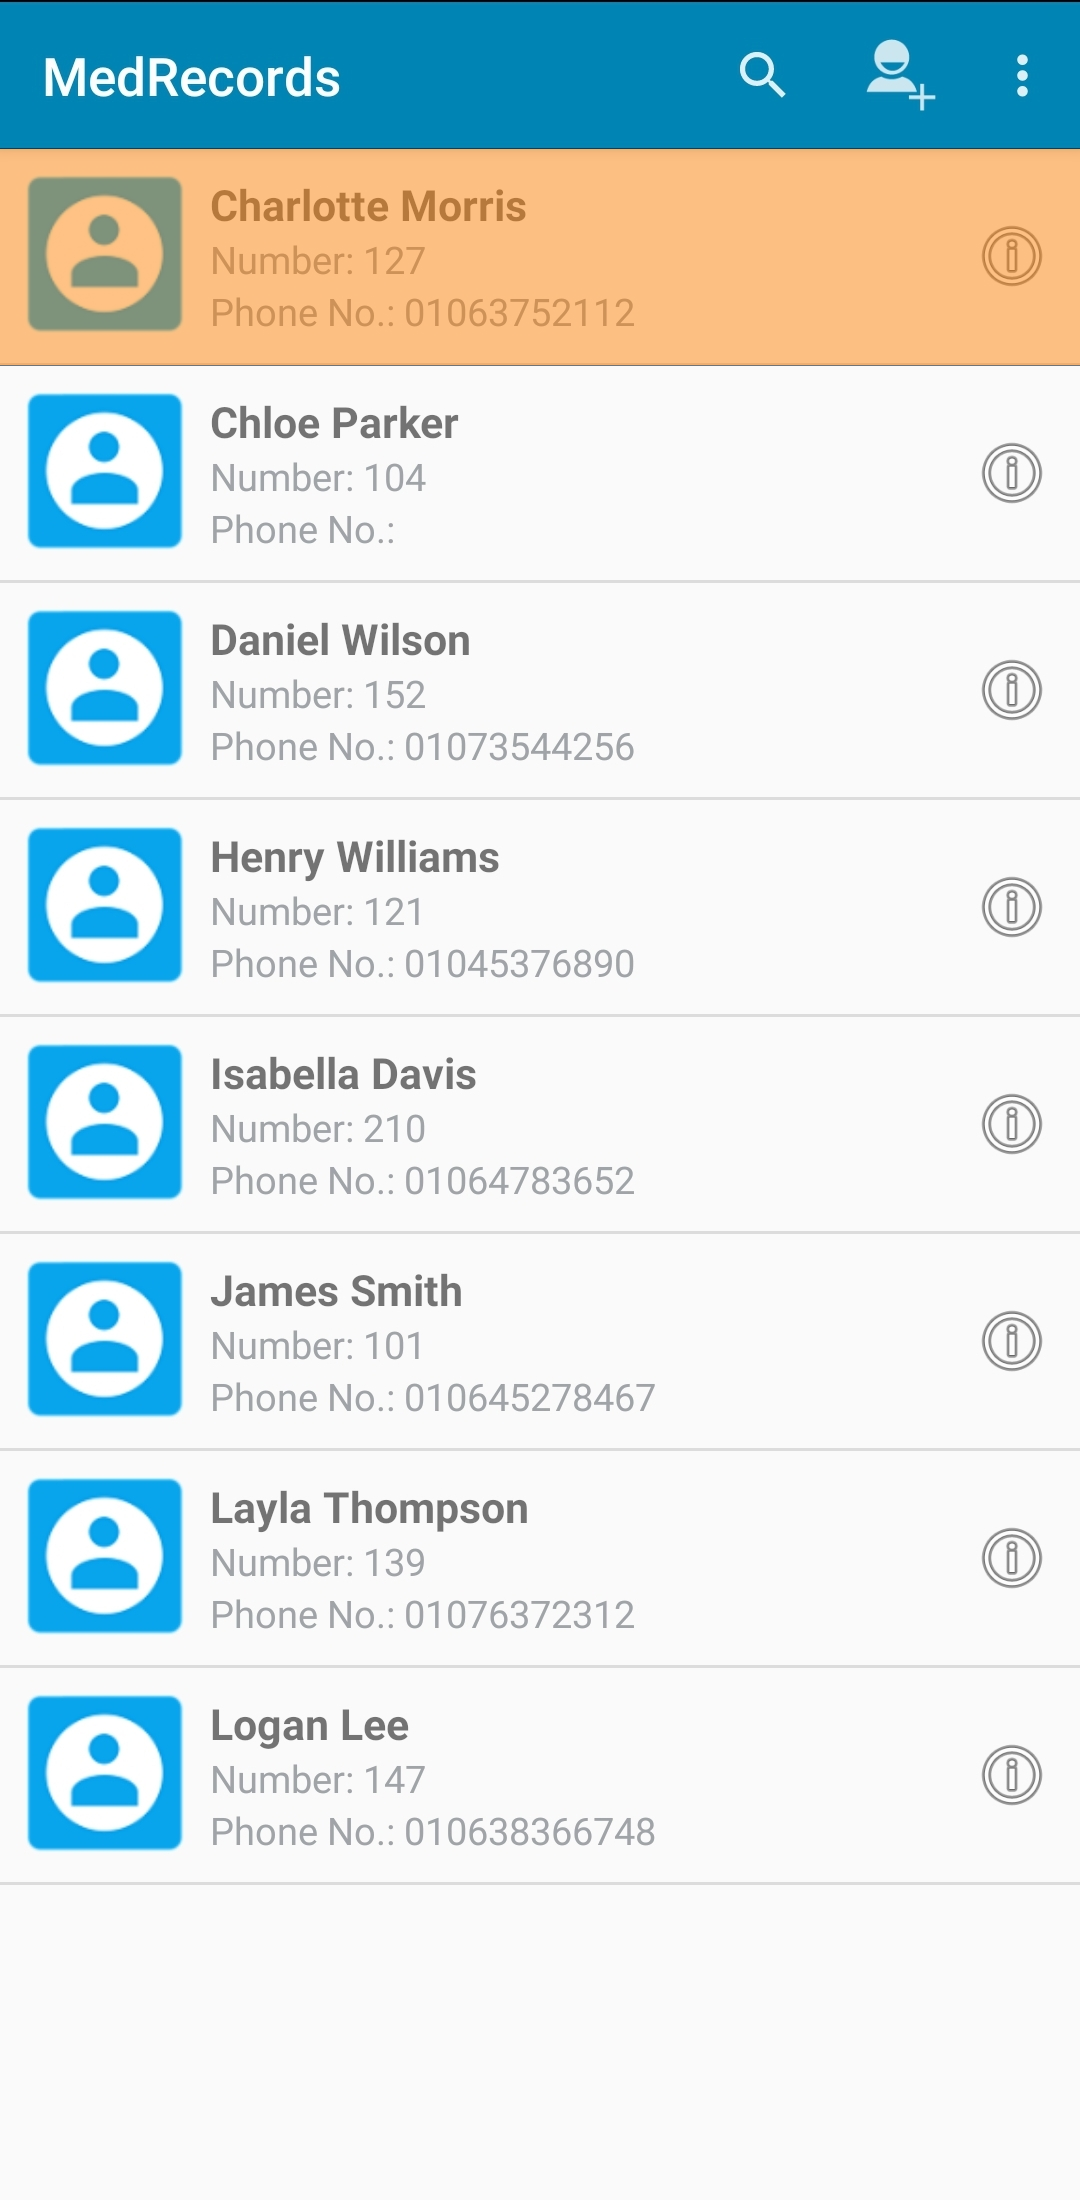
At the main screen, press on the search icon. enter the patient “ID” or name. the patient list will be filtered, press on the appropriate result.
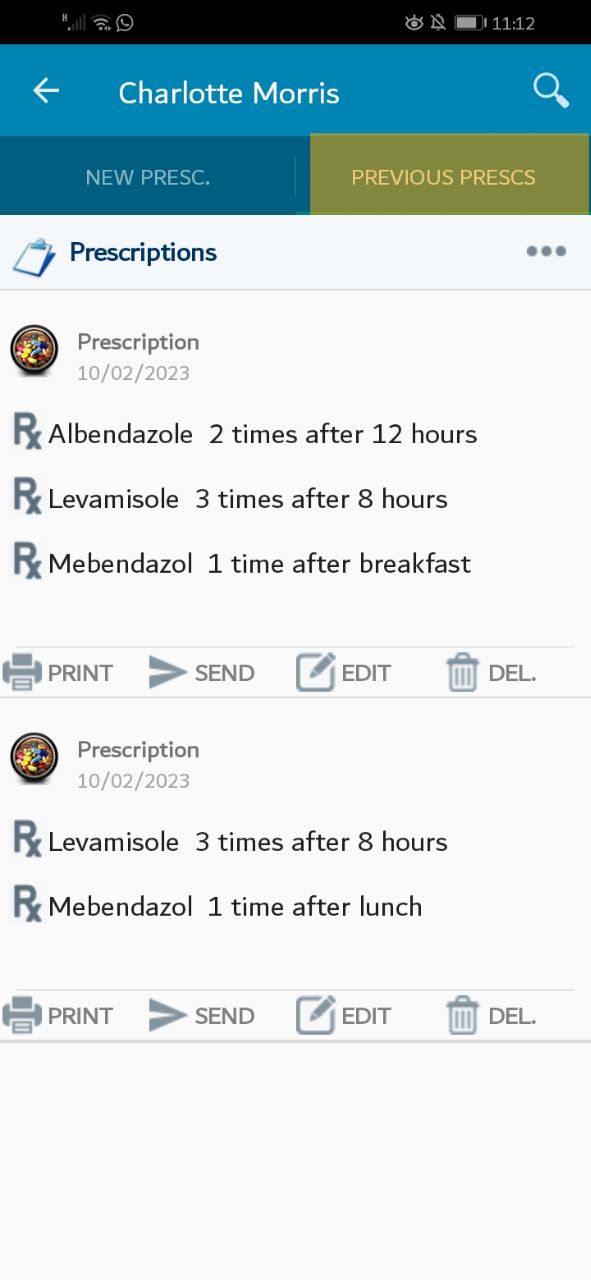
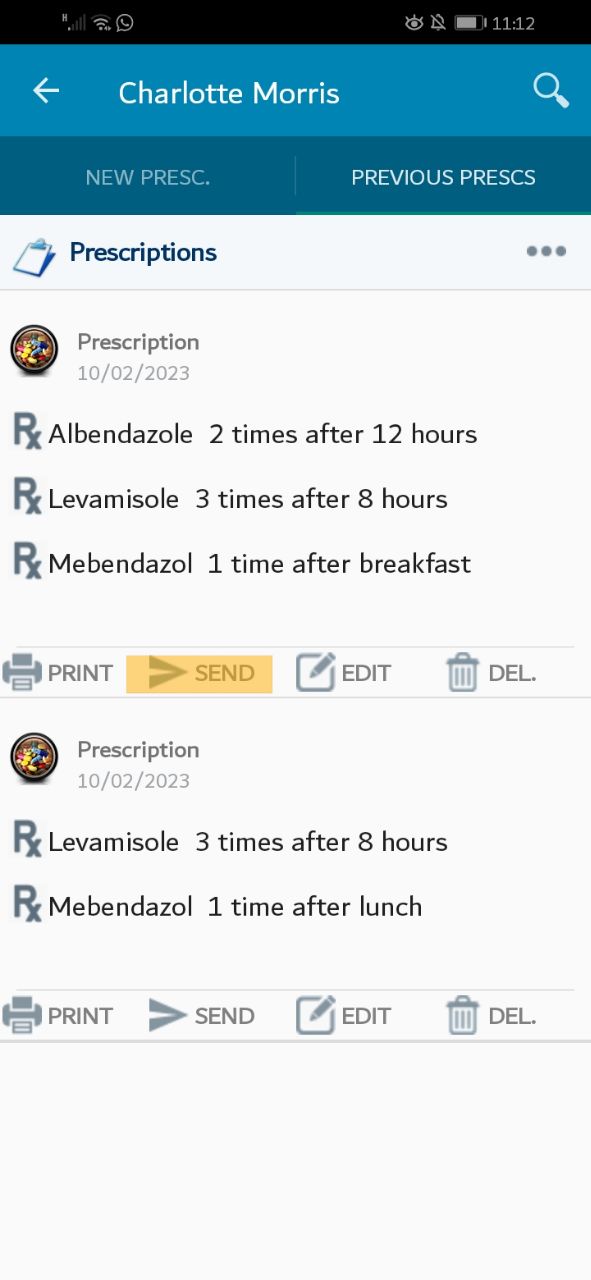
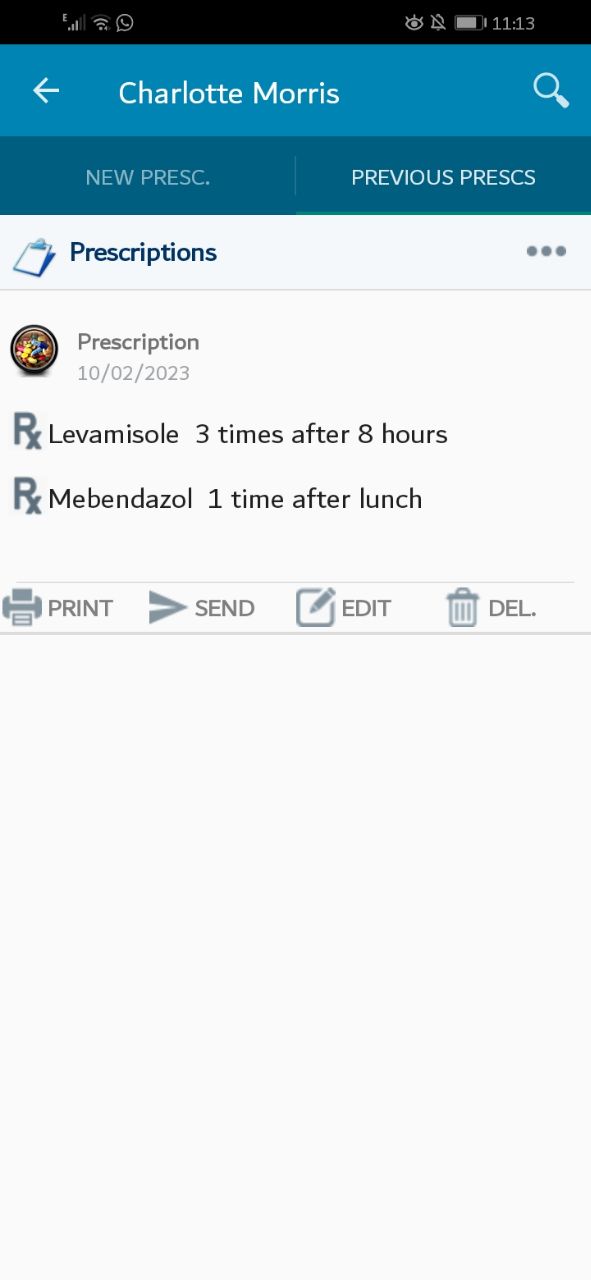
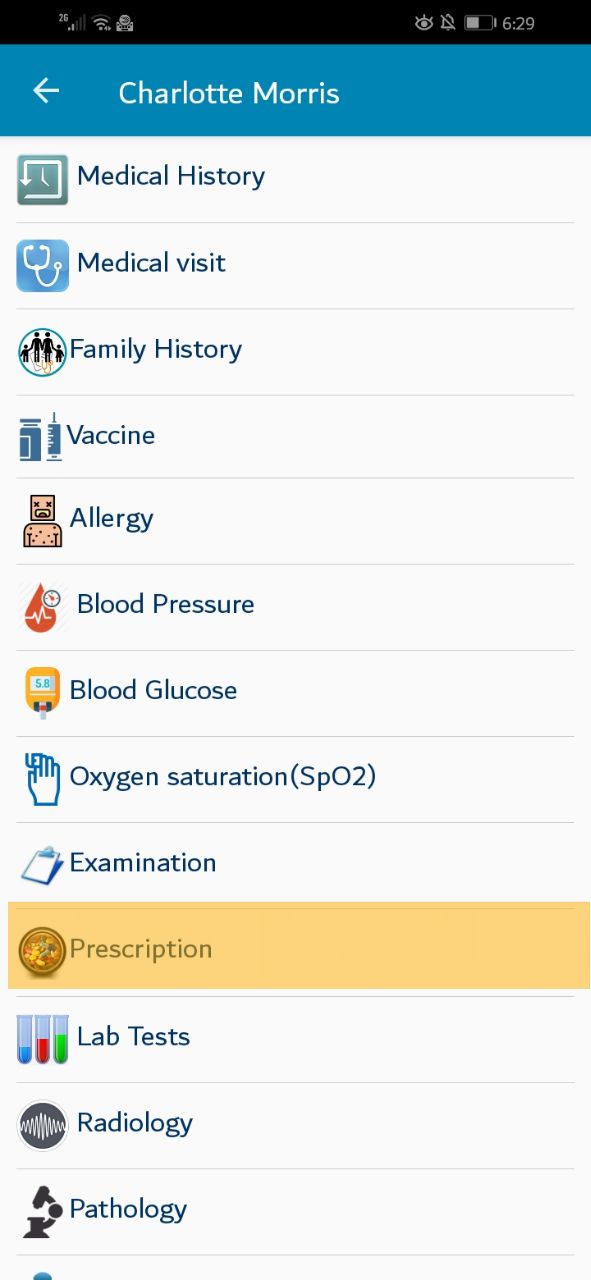
A new screen will appear. Please press on the "Prescription" tab.
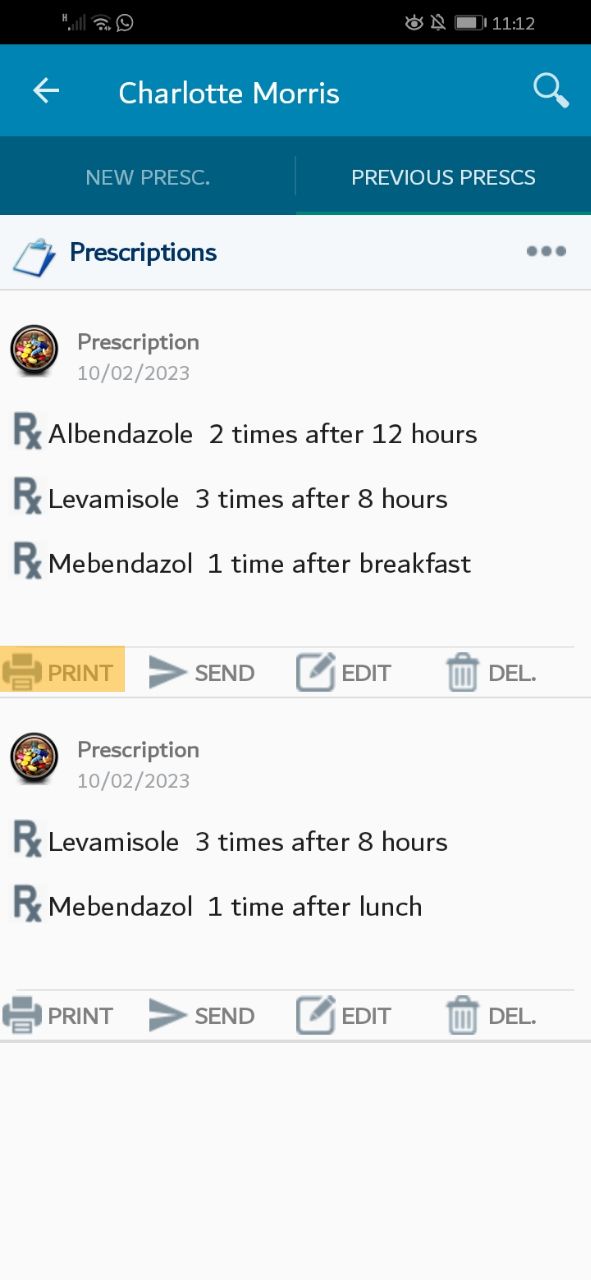
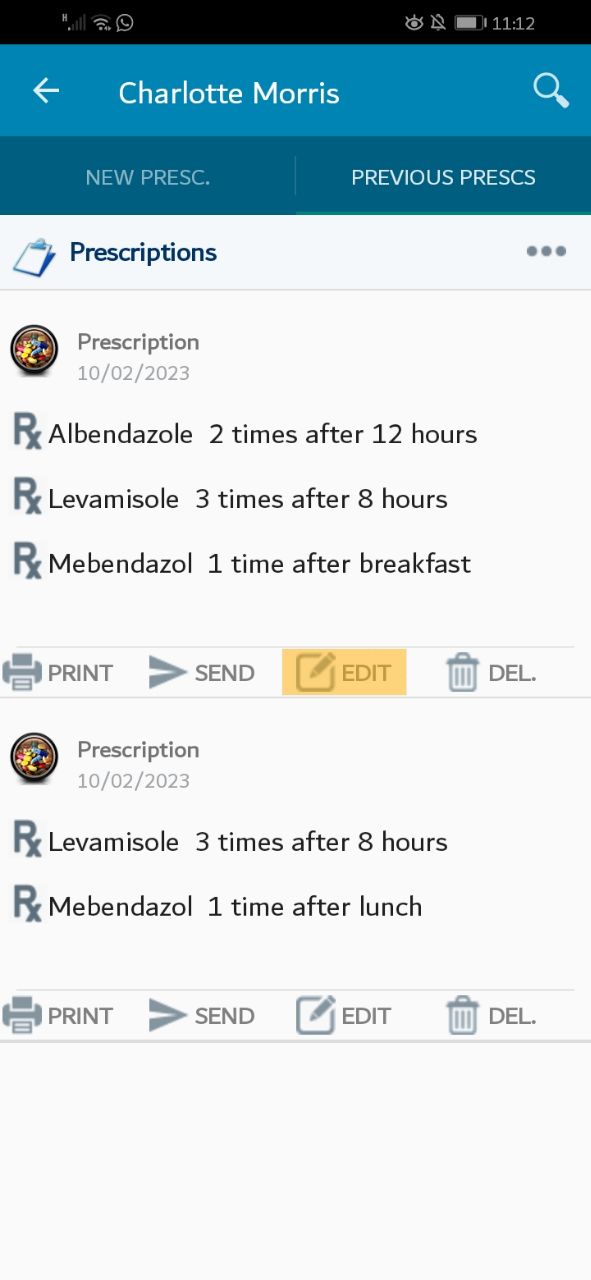
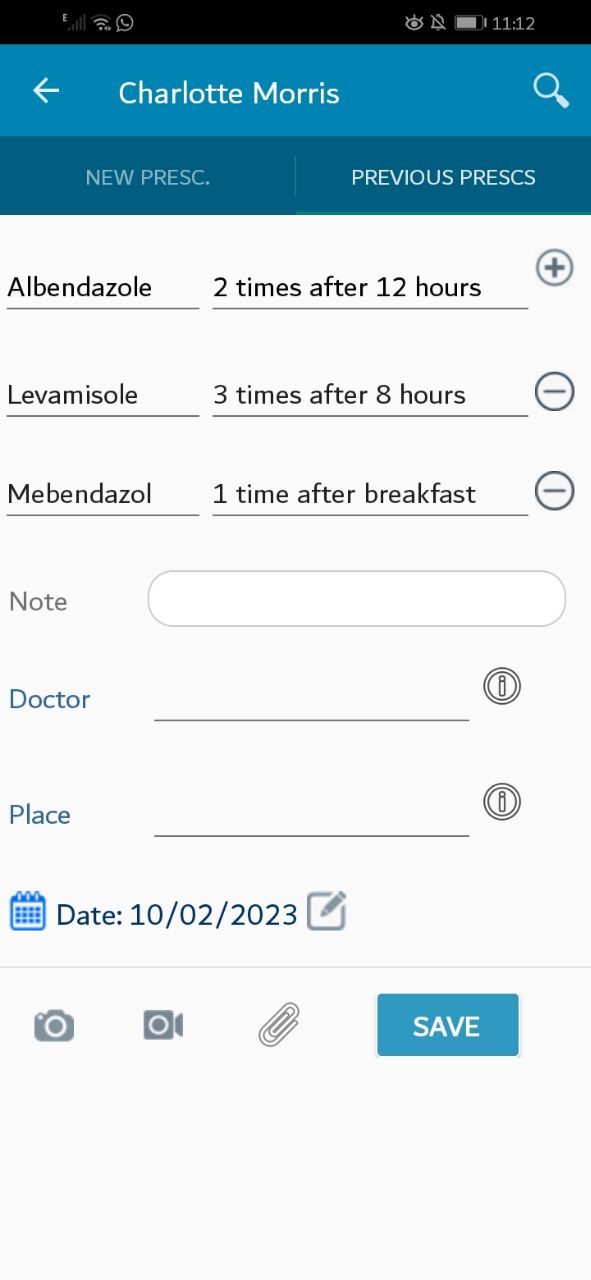
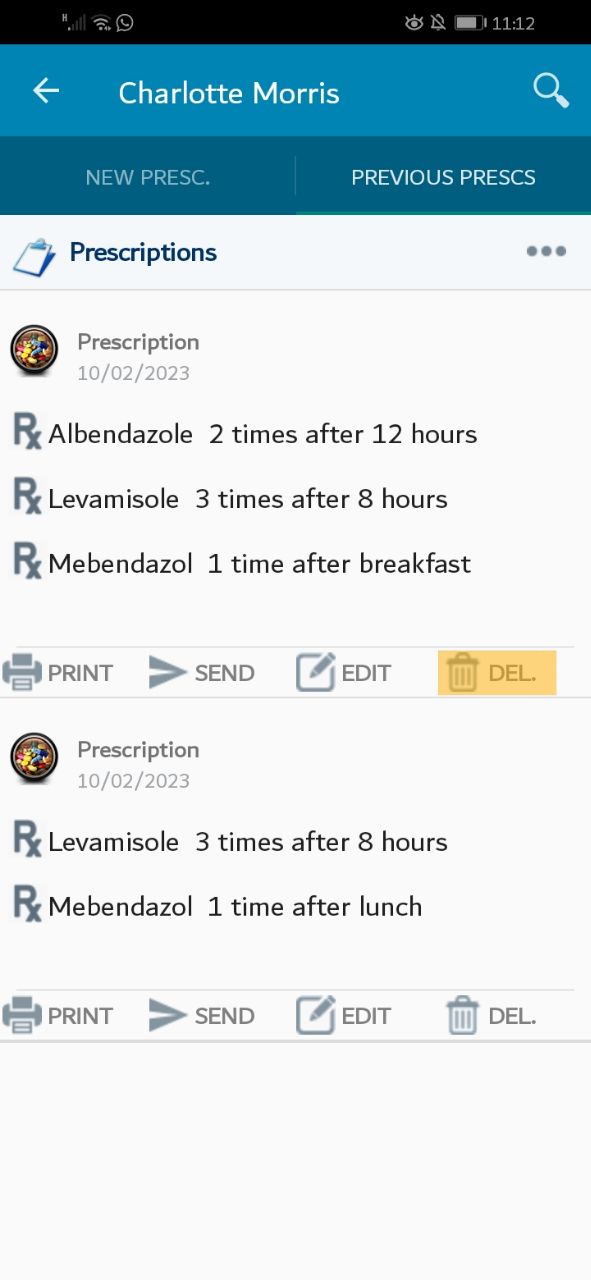
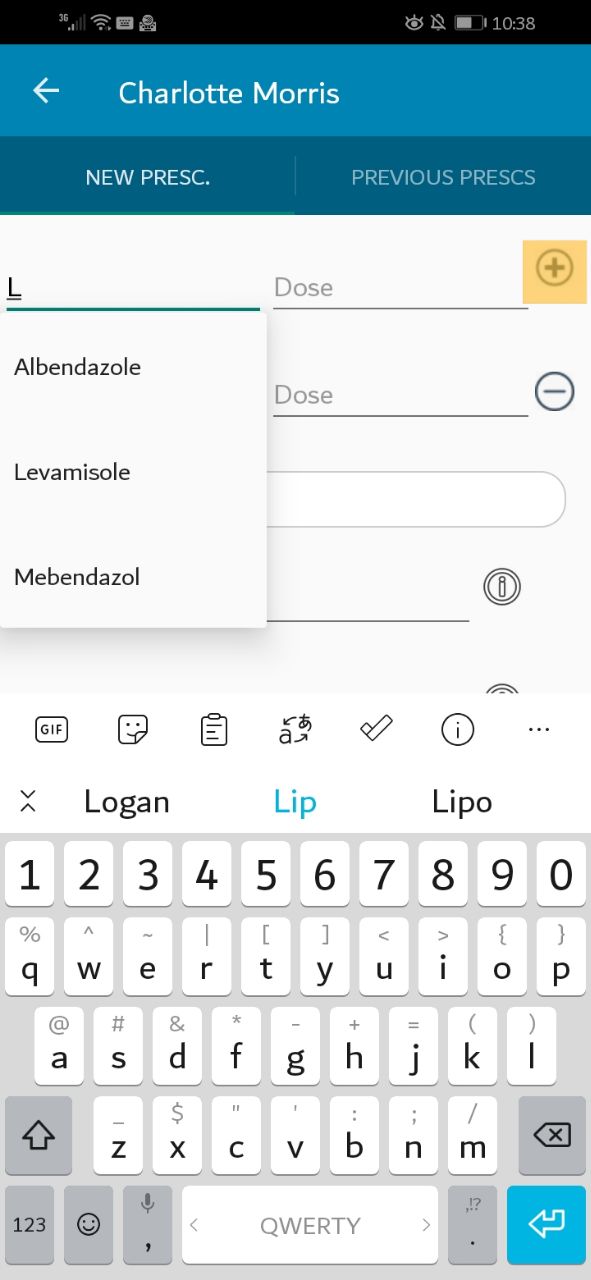
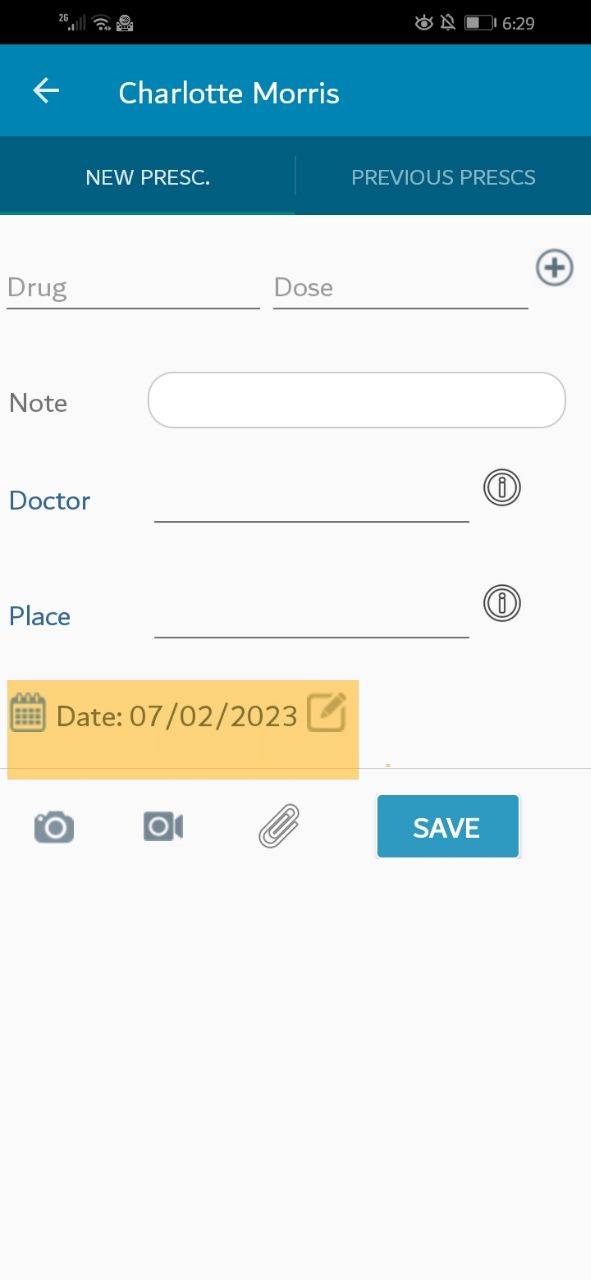
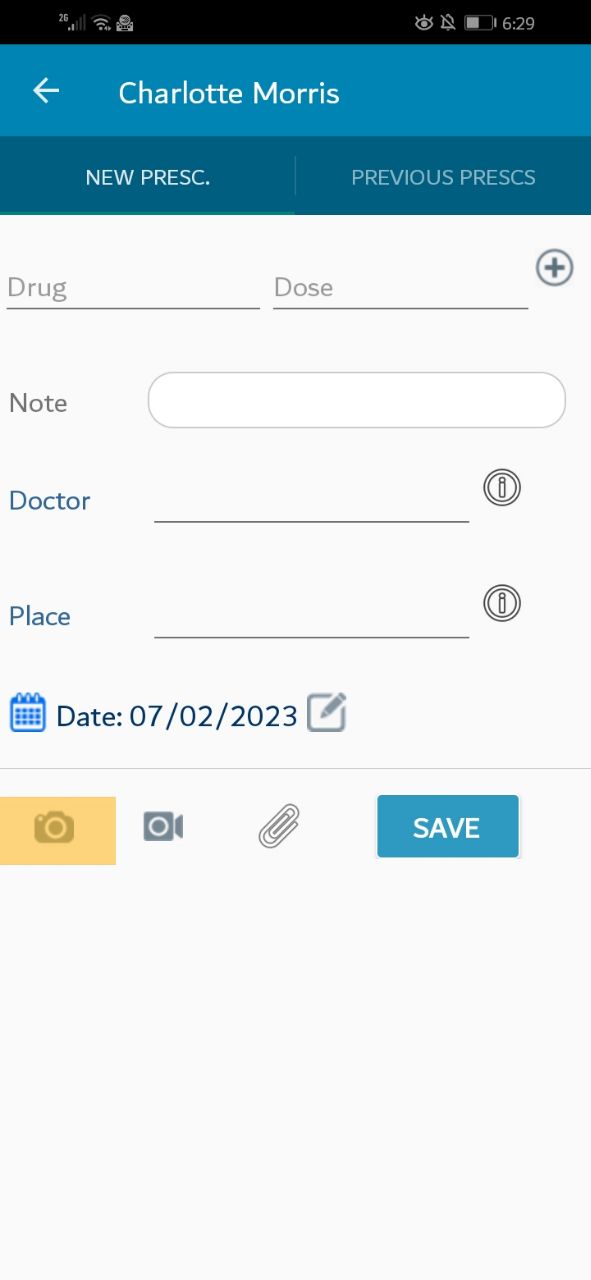
A screen will be displayed, offering adding new prescription. Note that prescription fields uses the auto-complete style; you enter the drug just once and the system will save it, you will select it later instead of typing it again. you can add new drug in the same prescription press the "+" icon to add a new row, Please enter the needed data then pres the save button
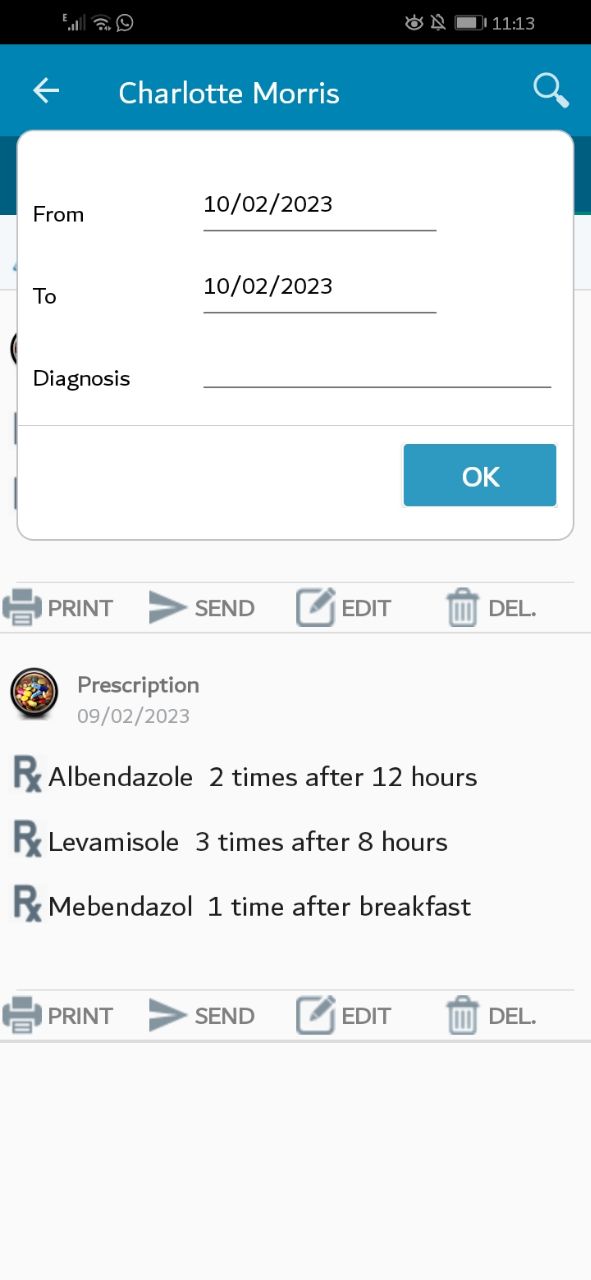
You can enter the date you need, Press on the icon at the bottom left of the screen.
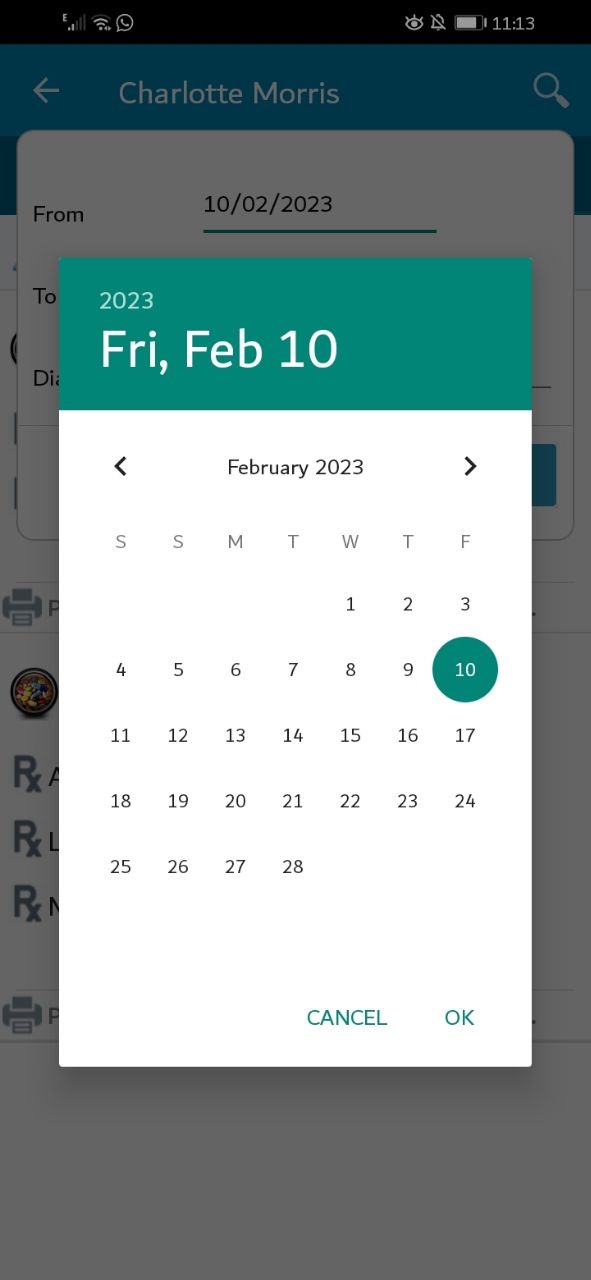
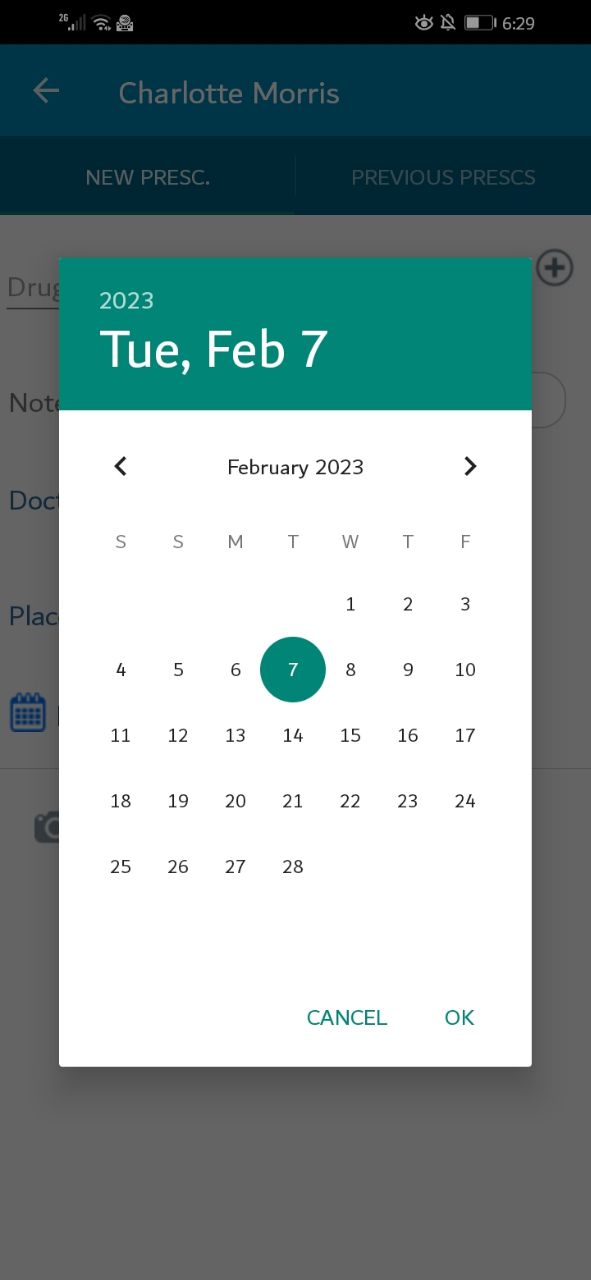
The date pop-up window should appear,Please set the appropriate date then click "ok"
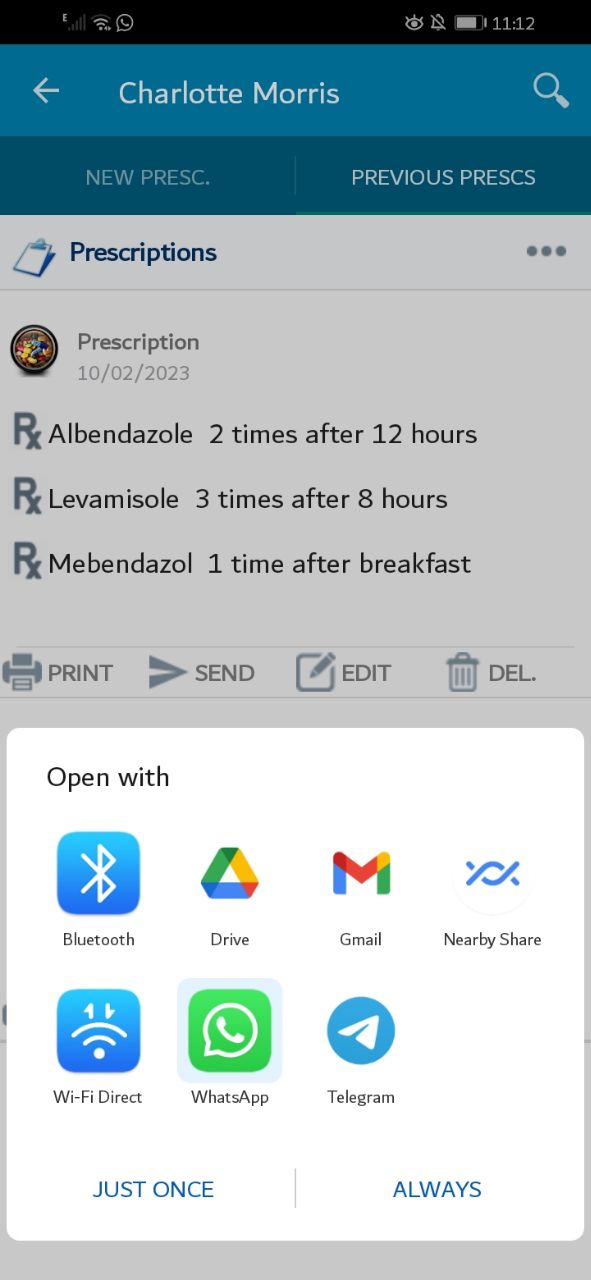
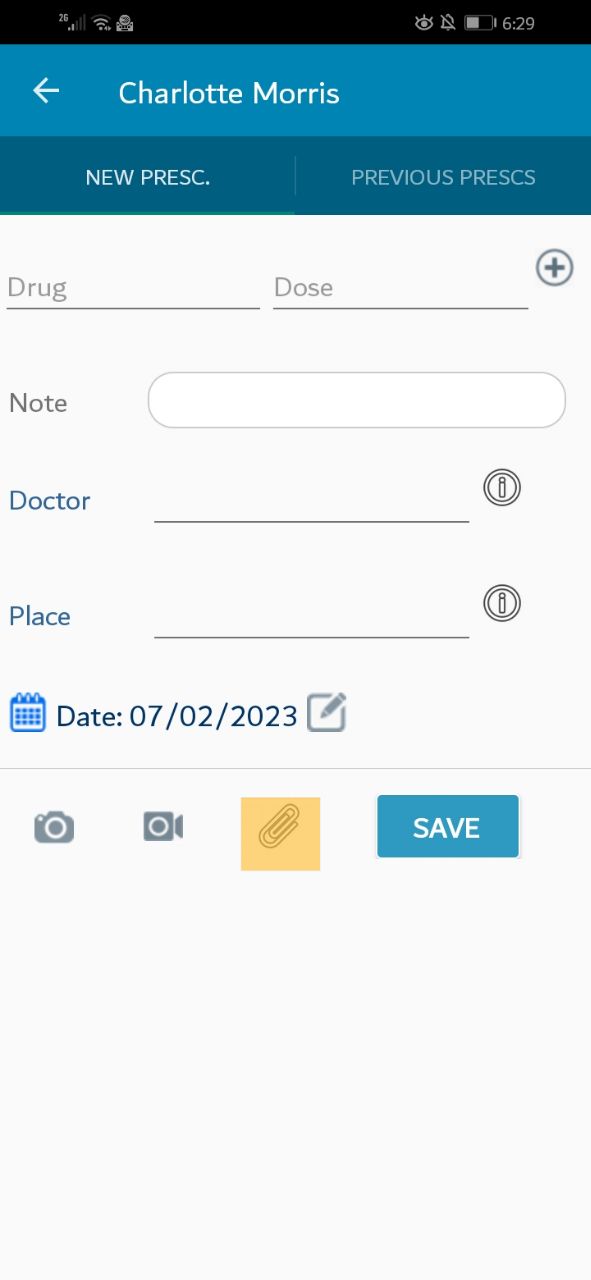
Beside entering the prescription, you can add an attachment, press on the icon at the bottom right of the screen.
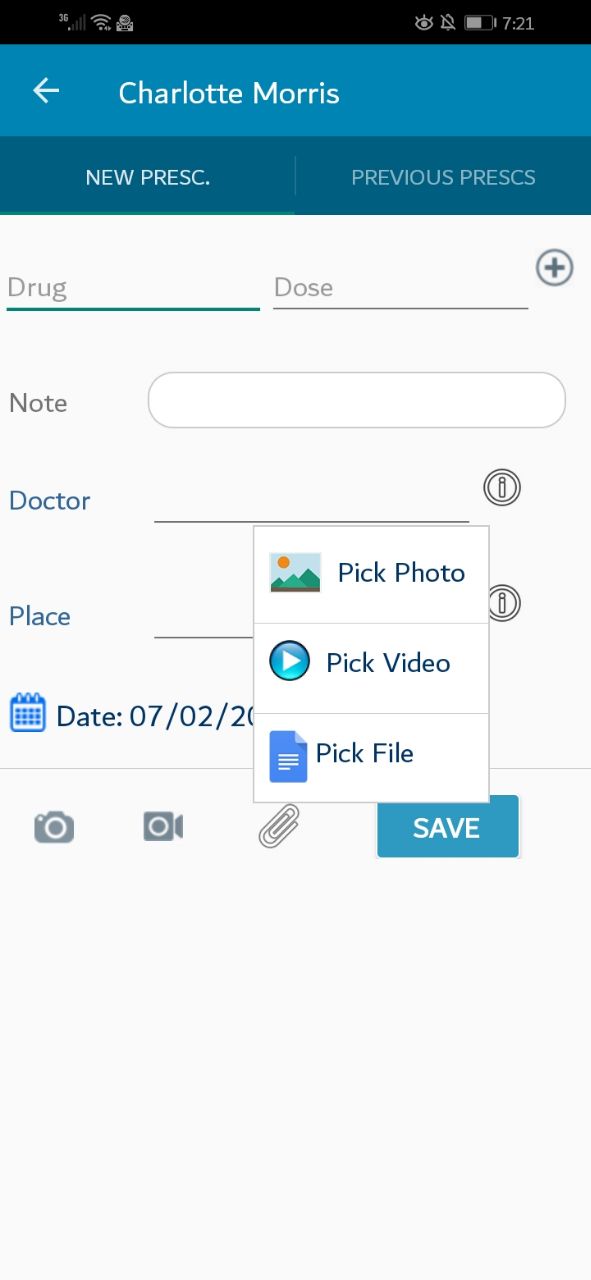
A small window will be appeared. please choose the action you want.
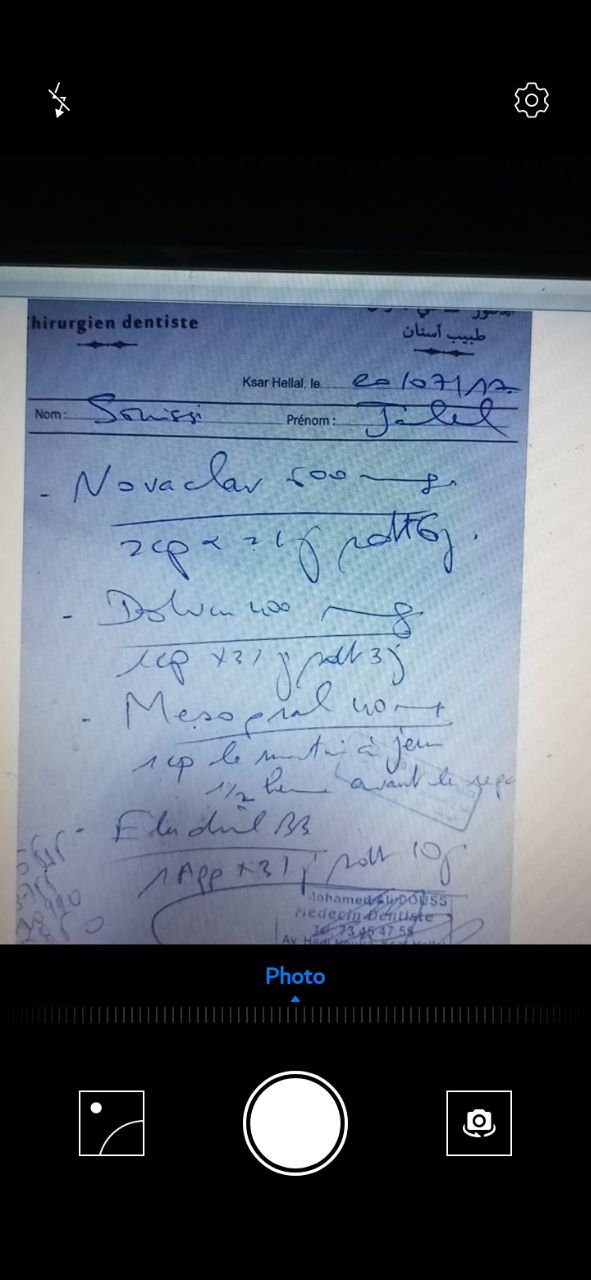
You can capture prescription, press on the icon at the bottom left of the screen.
A camera screen will be appeared.
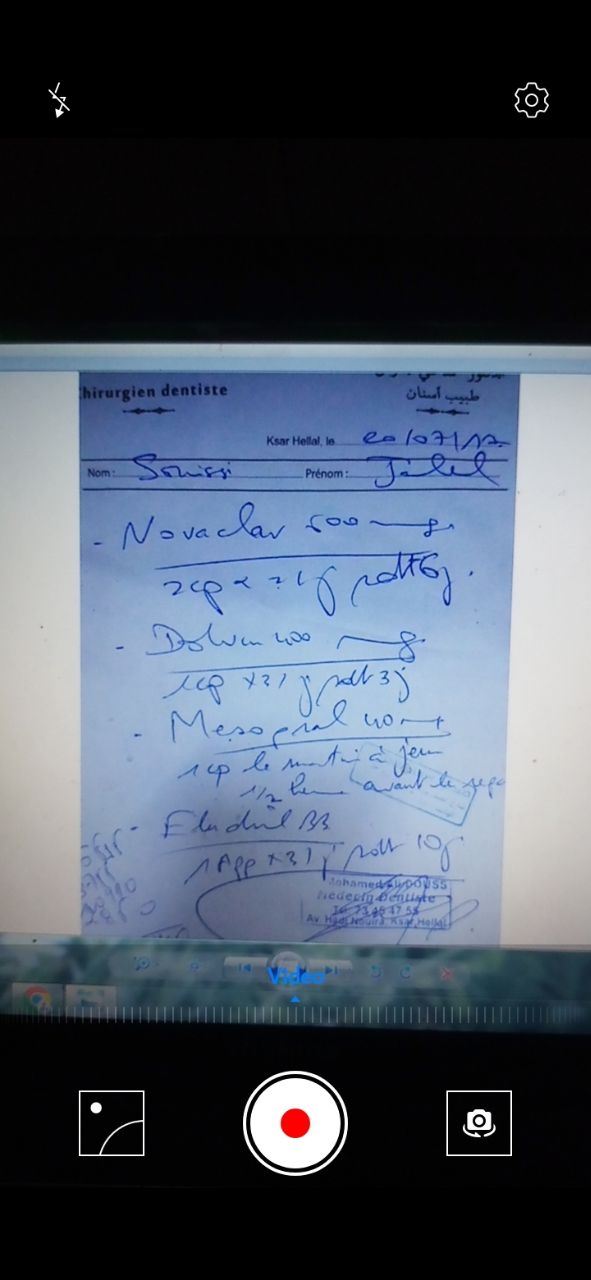
You can record video, press on the video icon at the screen.
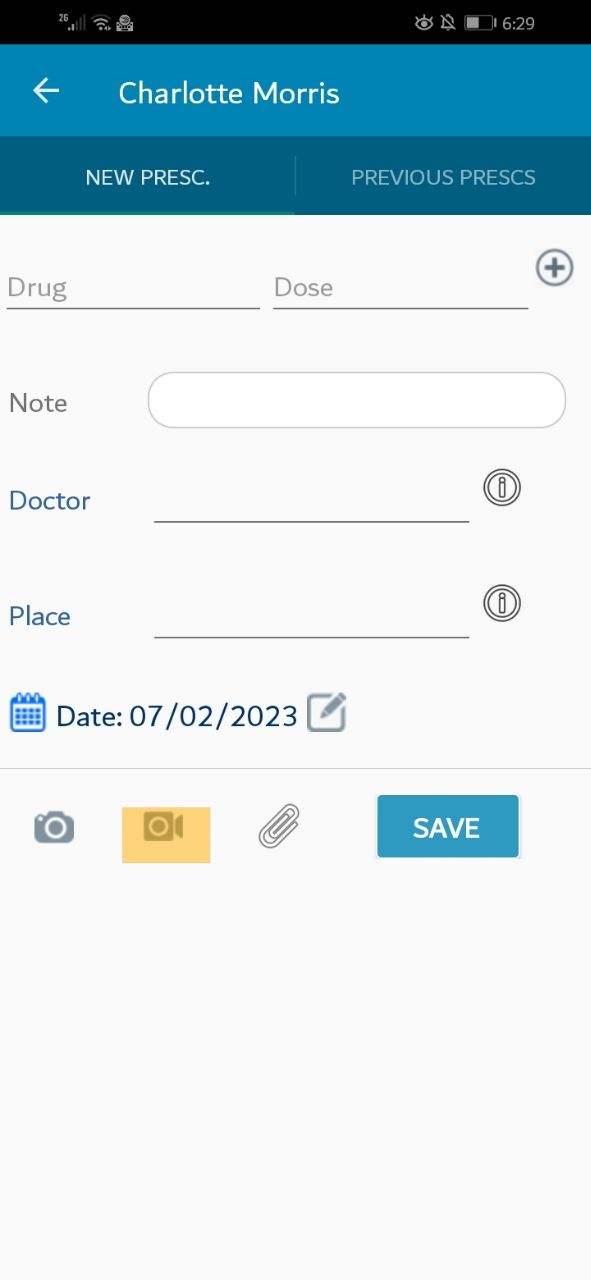
A video screen will be appeared.