1. Add Oxygen Saturation
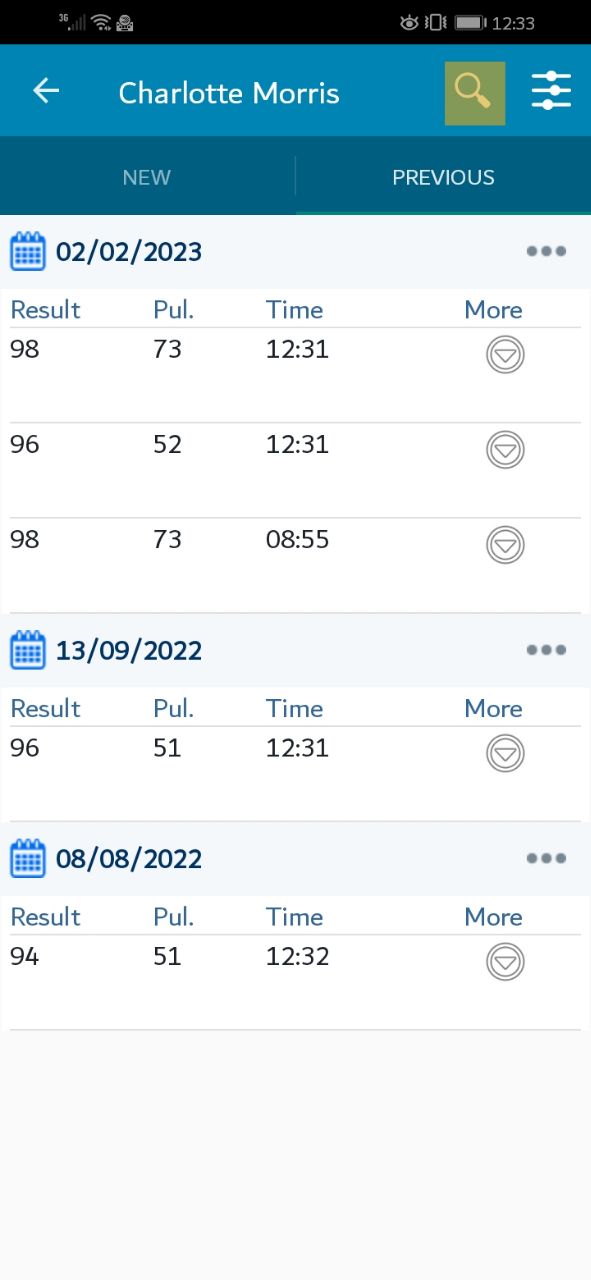
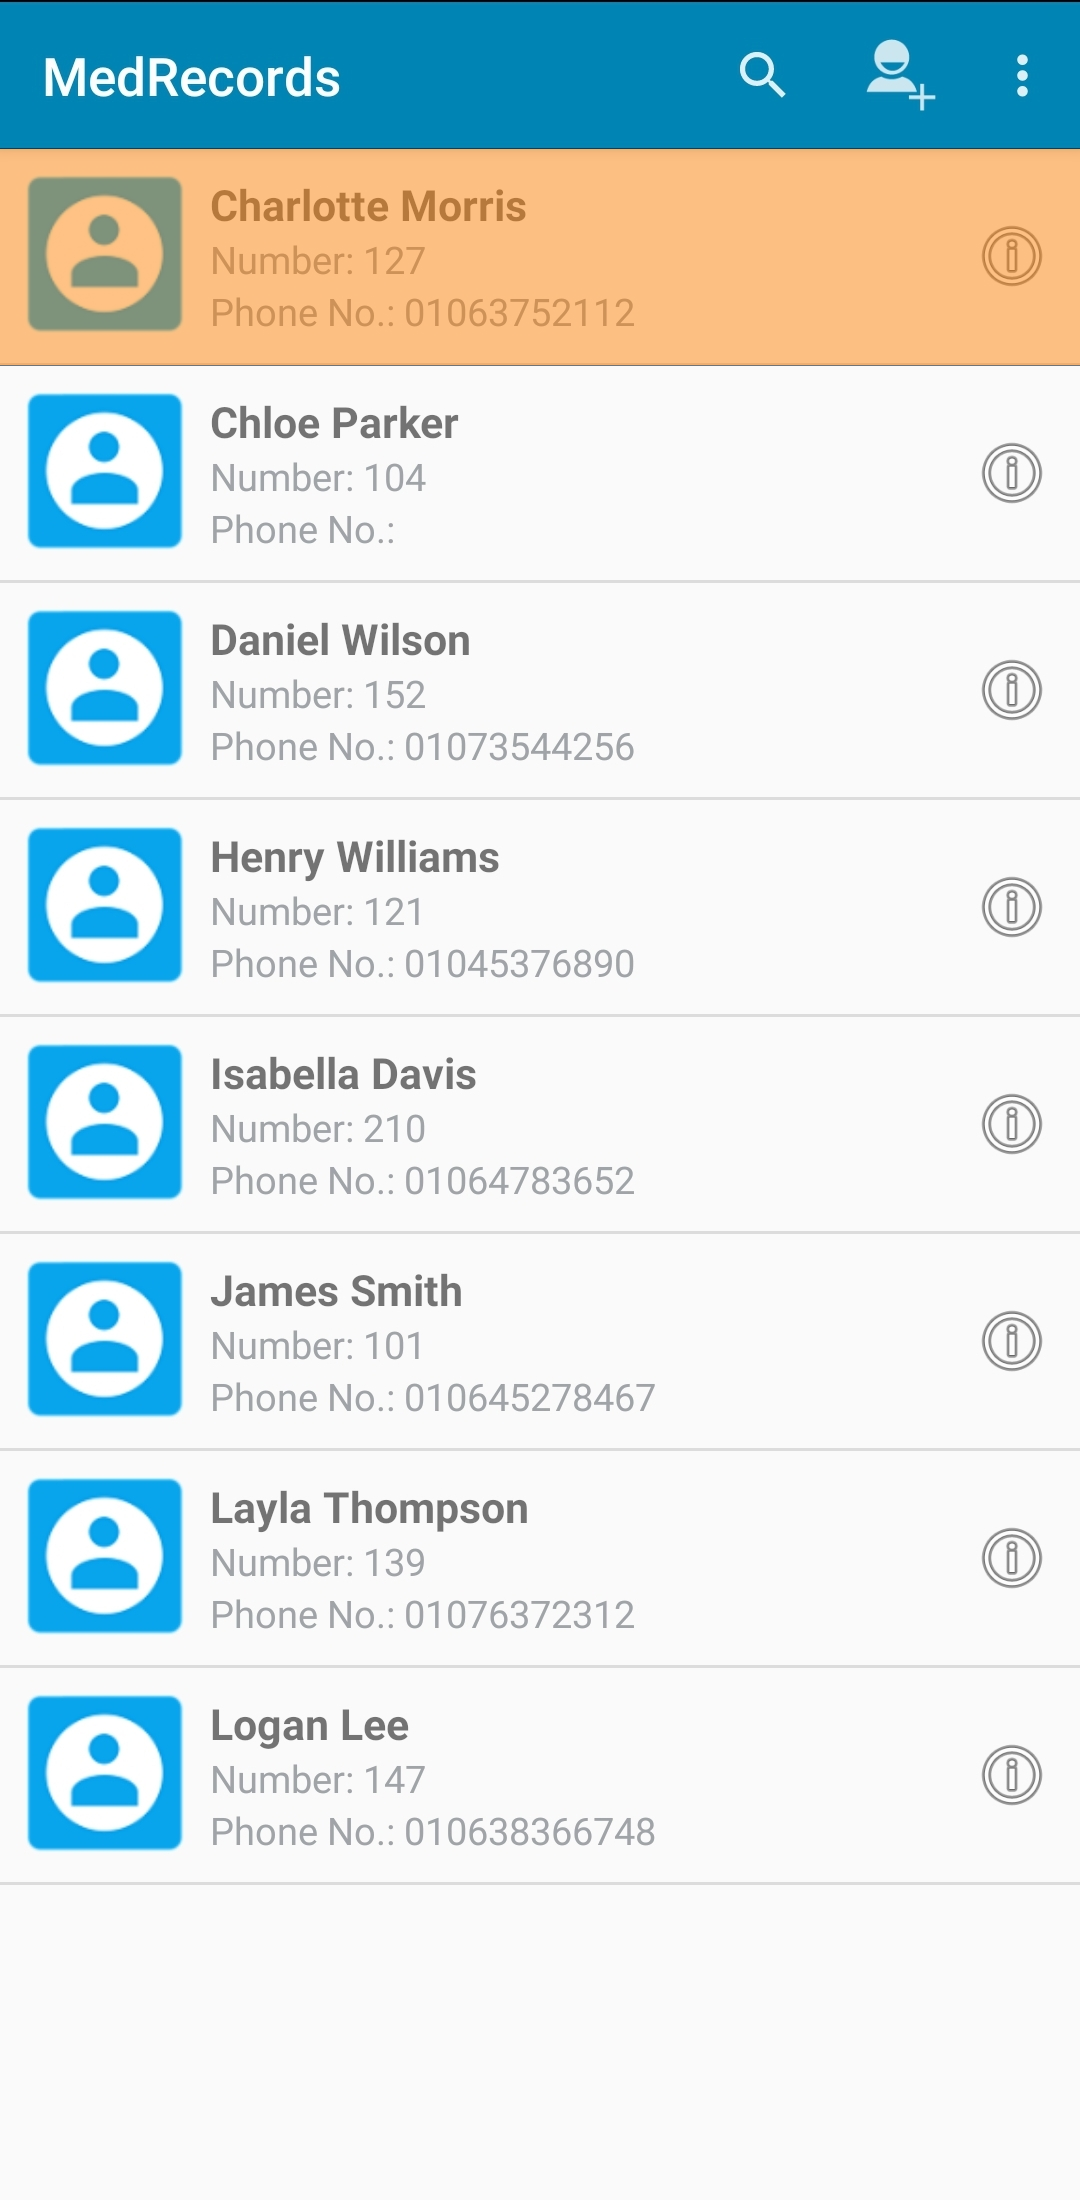
At the main screen, press on the search icon. enter the patient “ID” or name. the patient list will be filtered, press on the appropriate result.
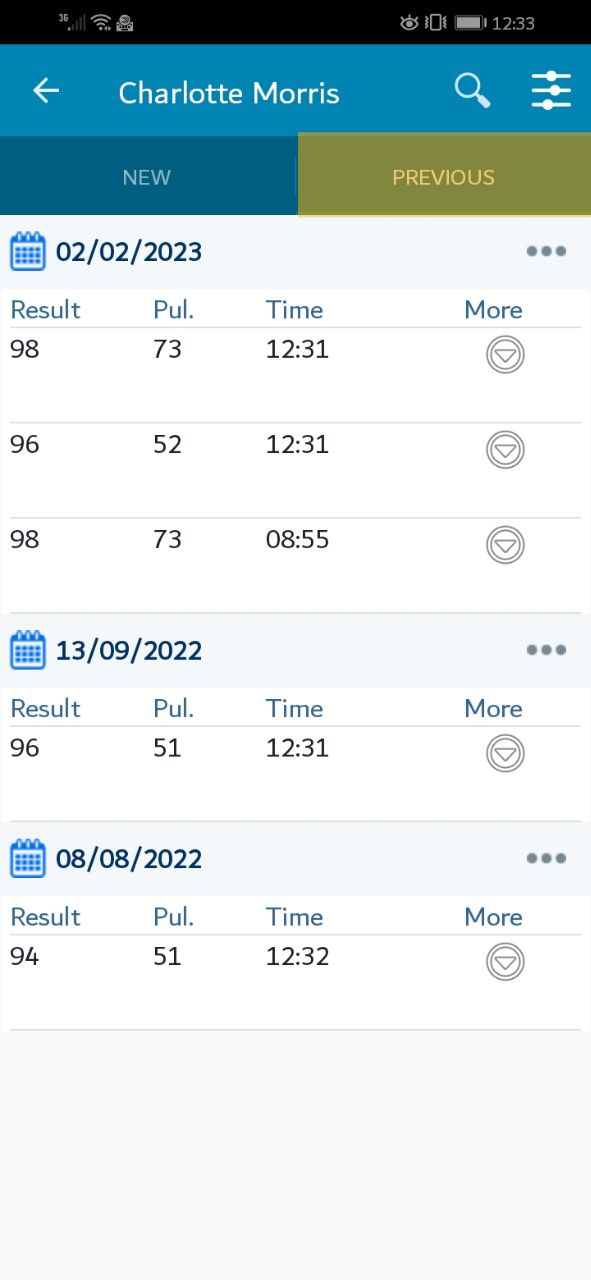
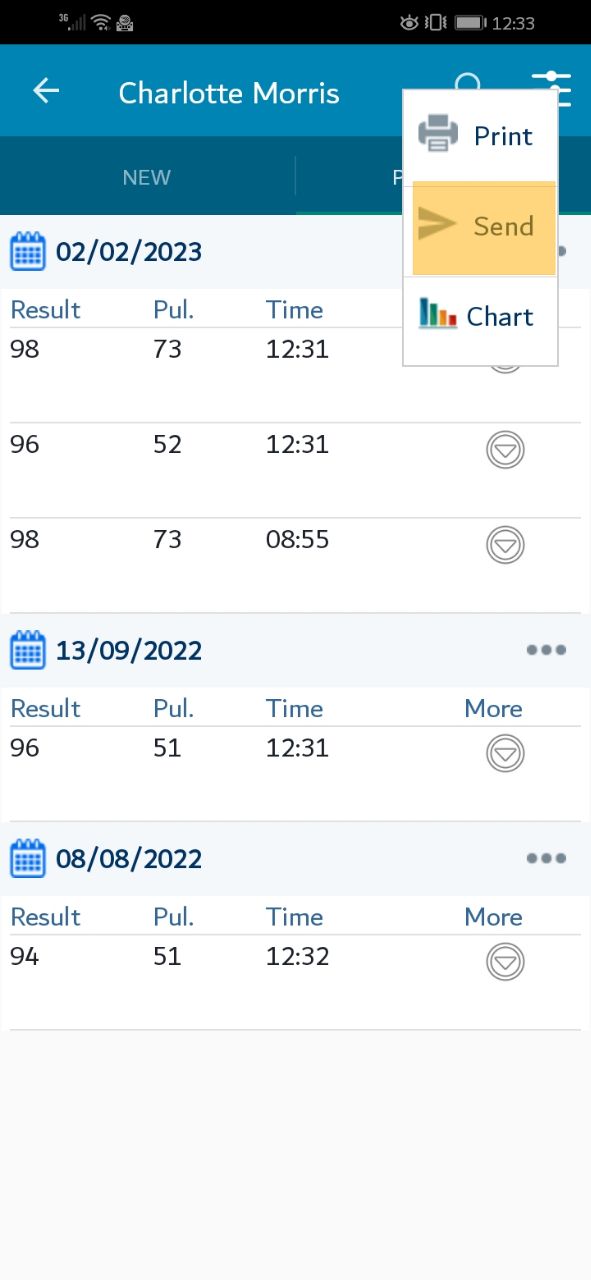
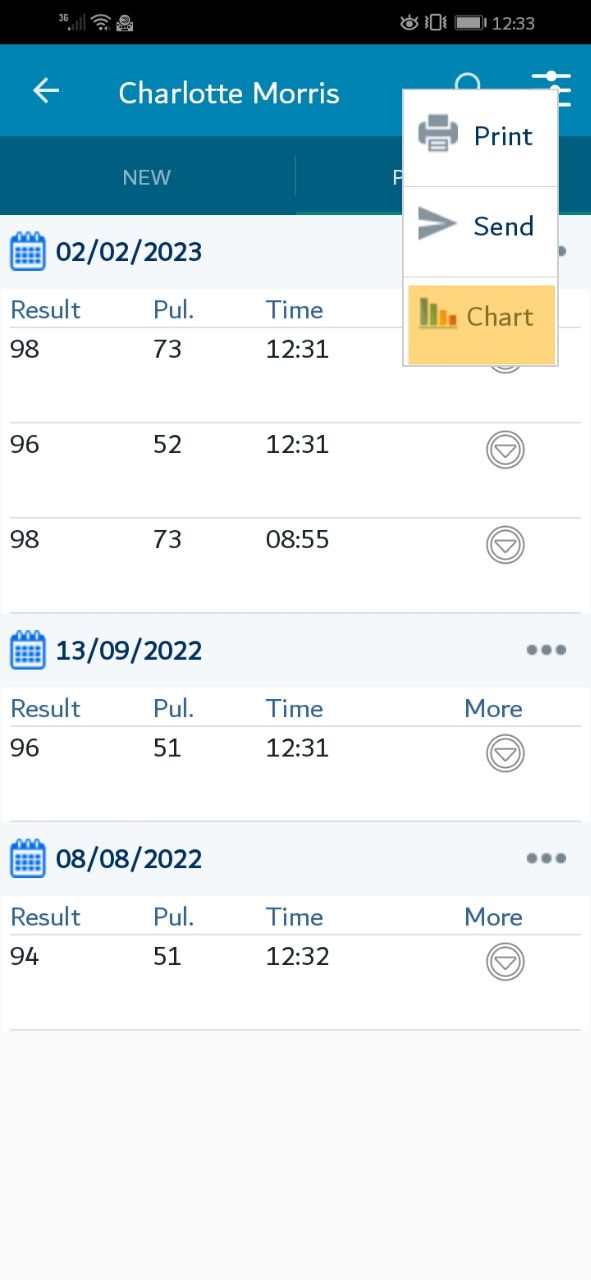
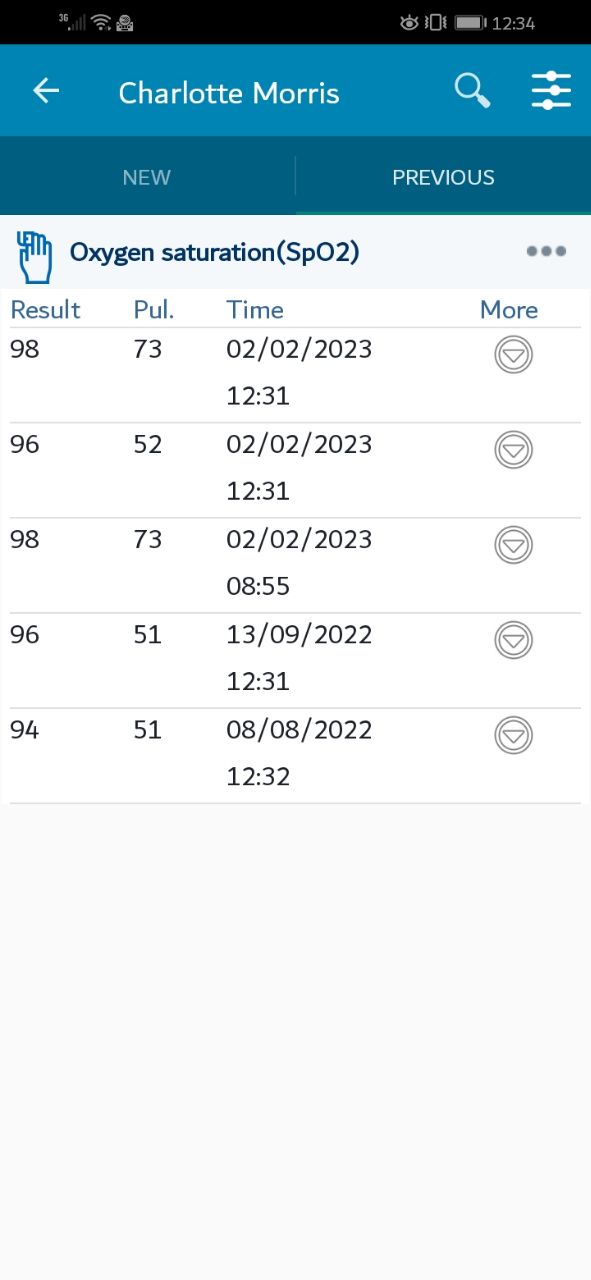
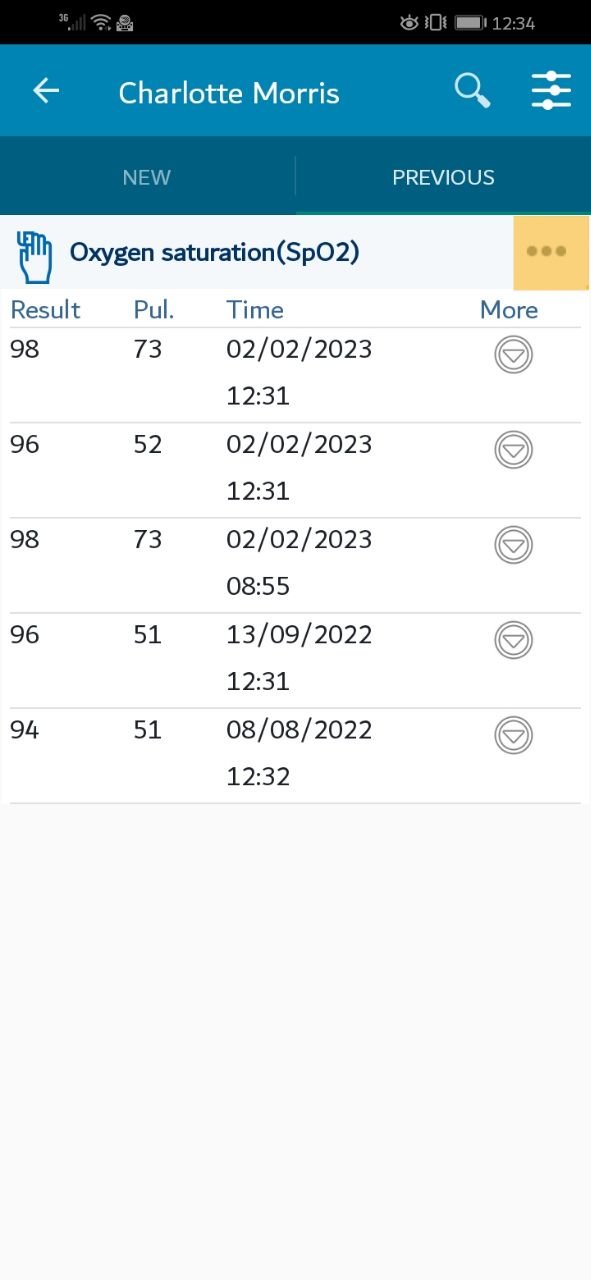
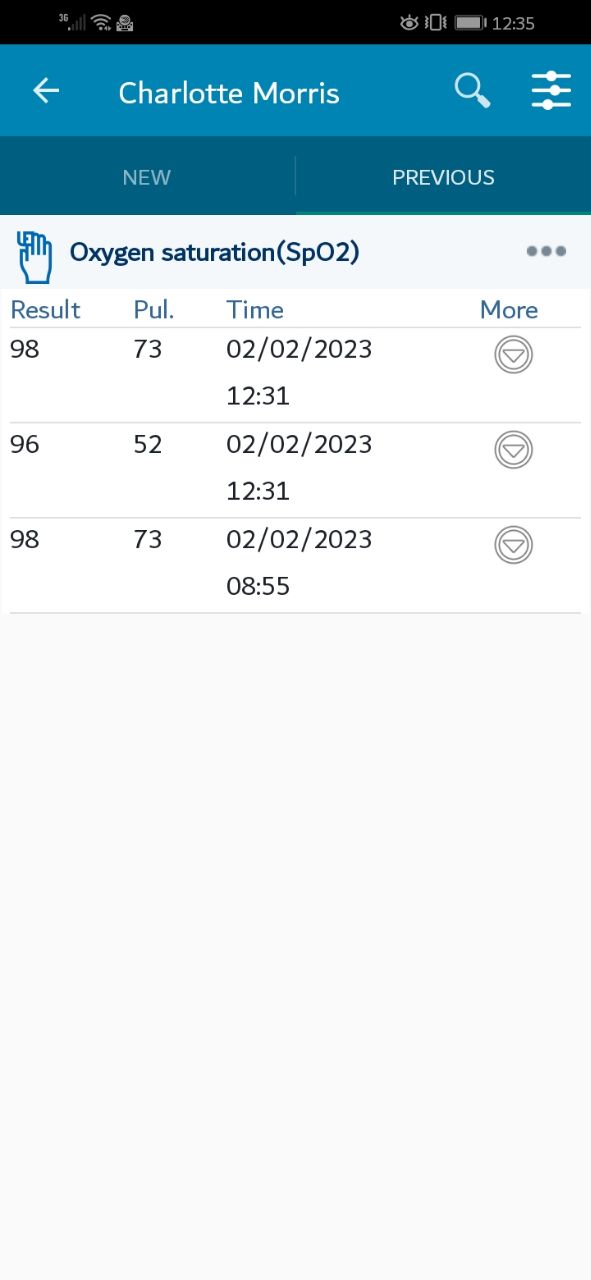
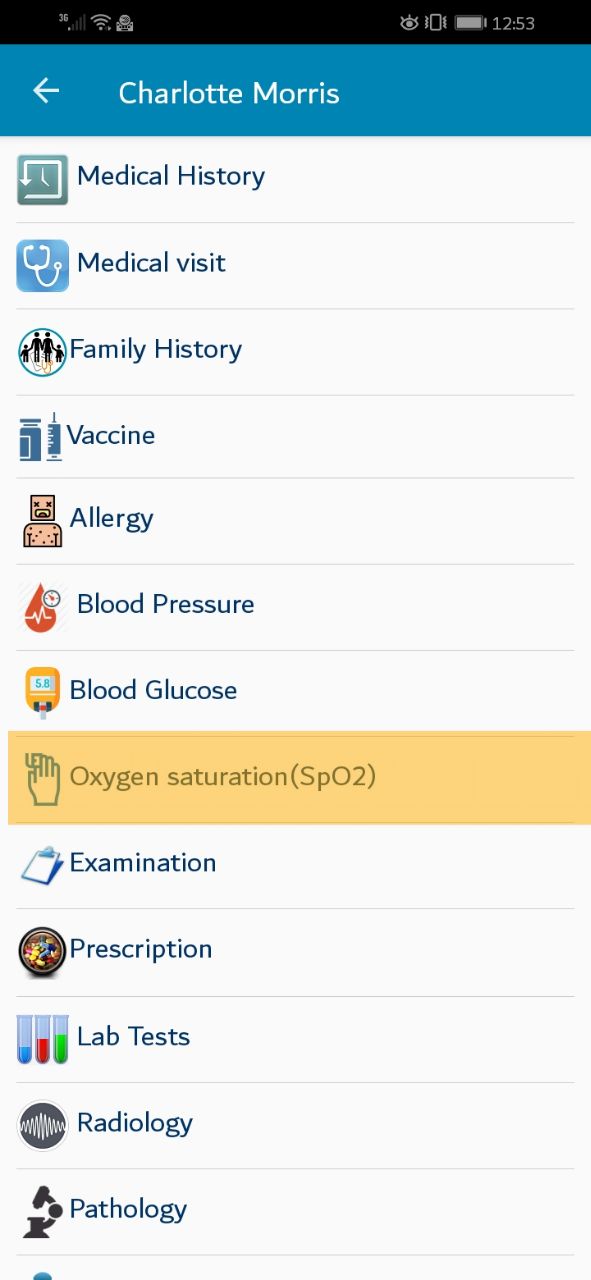
A new screen will appear. Please press on the "Oxygen Saturation" tab.
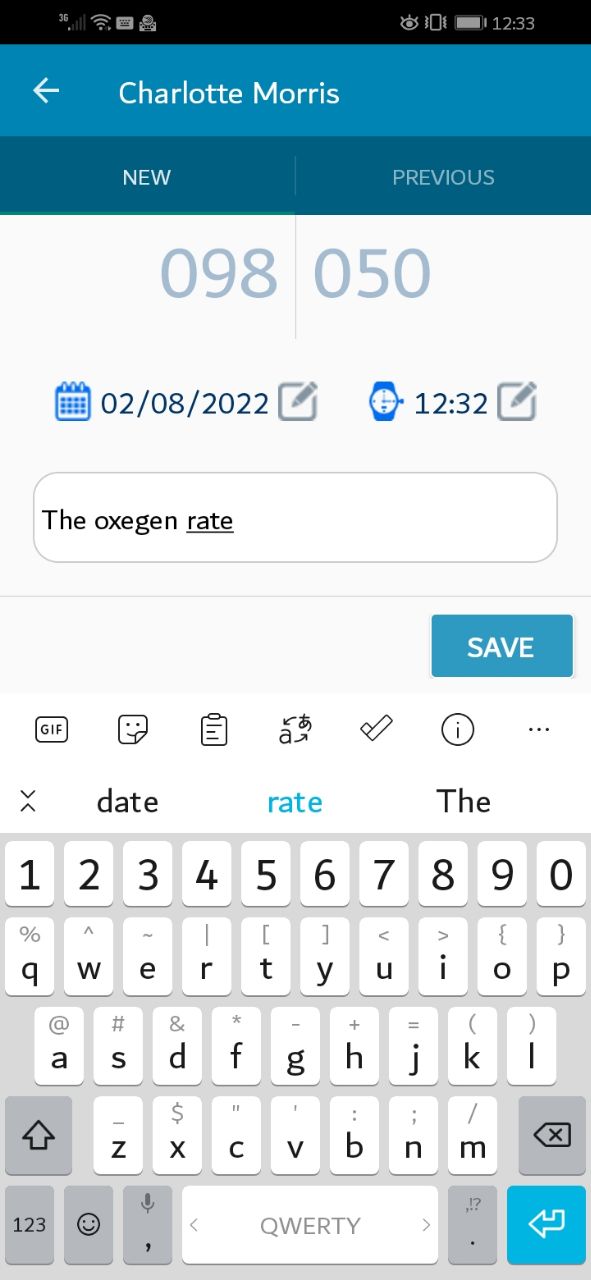
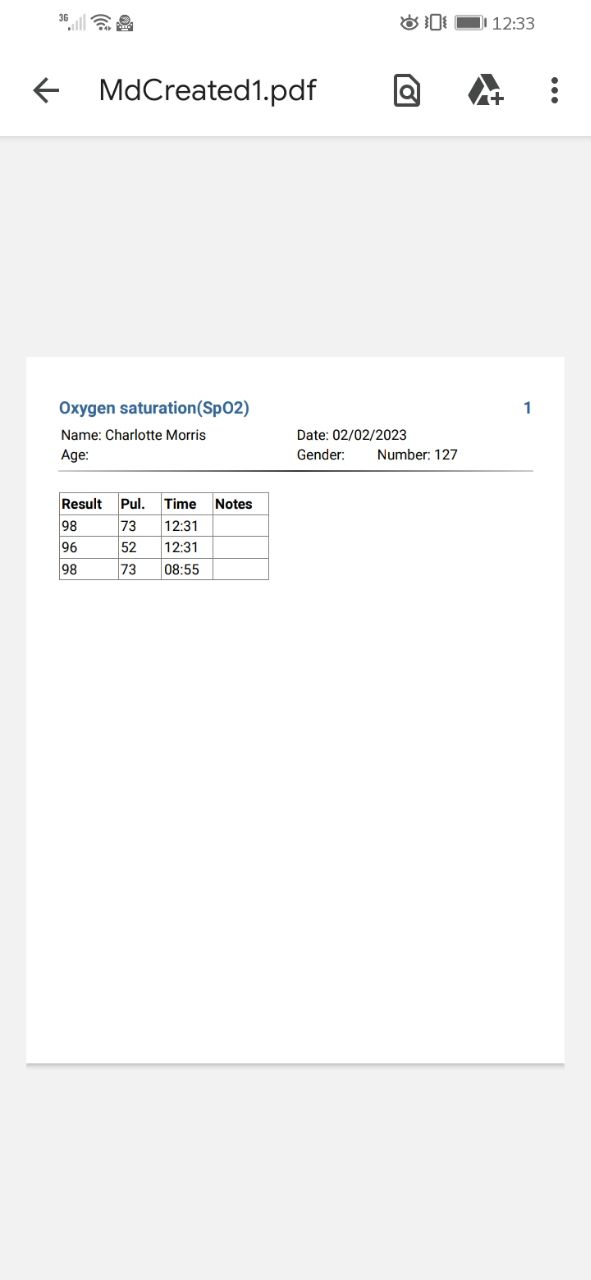
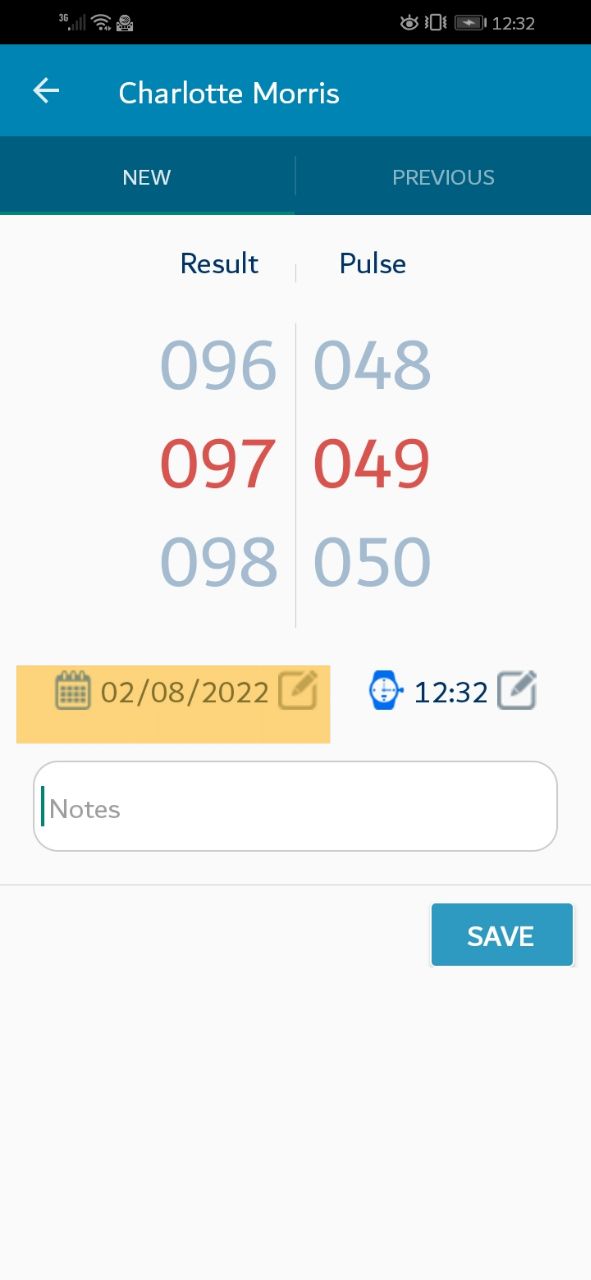
A screen will be displayed, offering adding new oxygen saturation, Please enter the needed data then press the save button
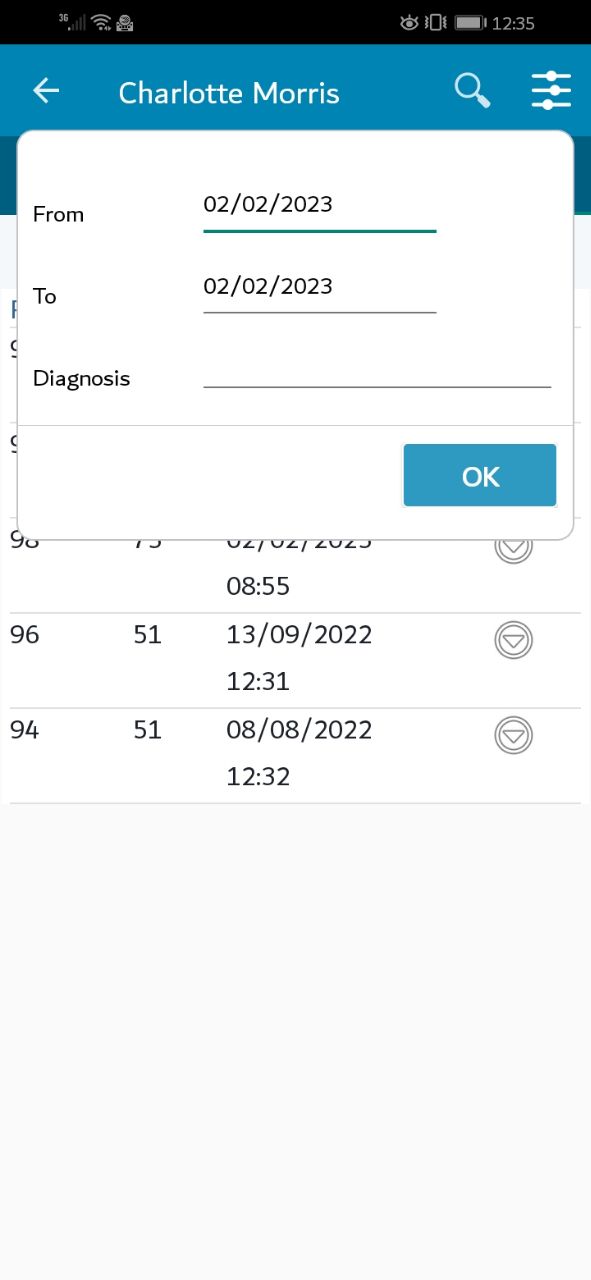
You can enter the date you need, Press on the icon at the bottom left of the screen.
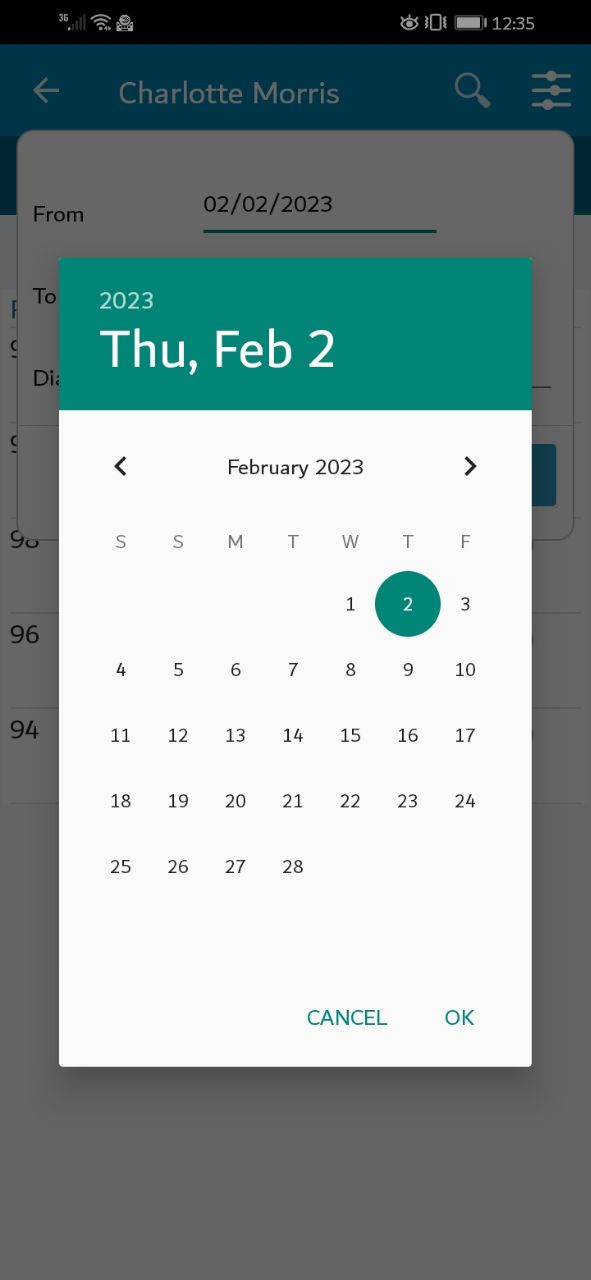
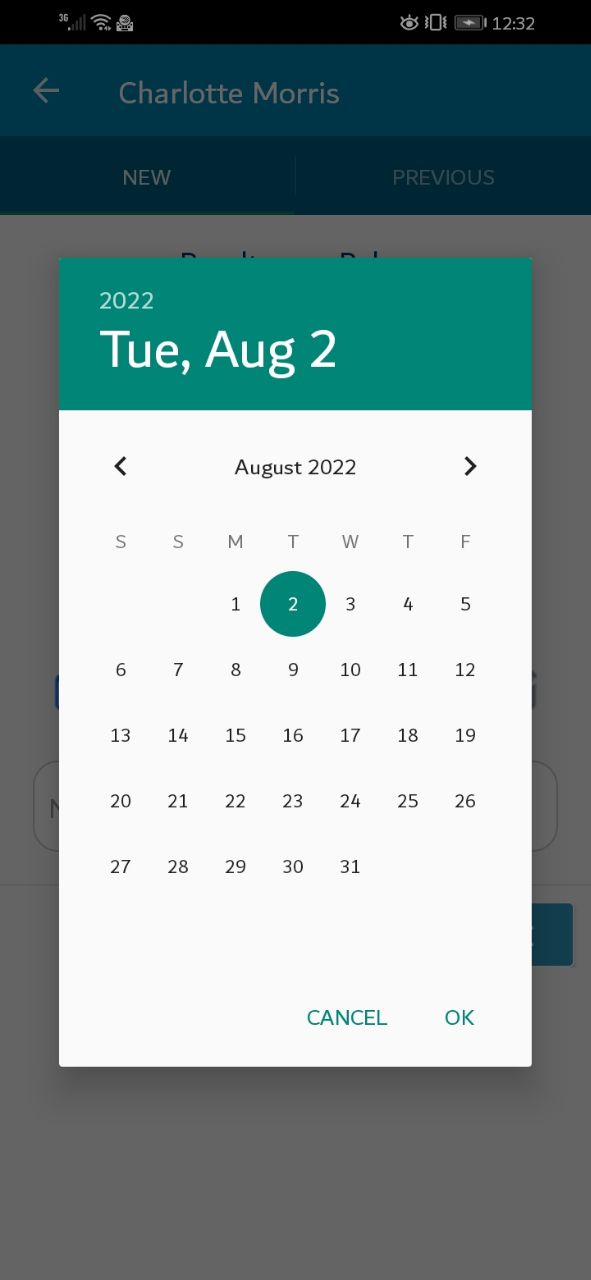
The date pop-up window should appear,Please set the appropriate date then click "ok"
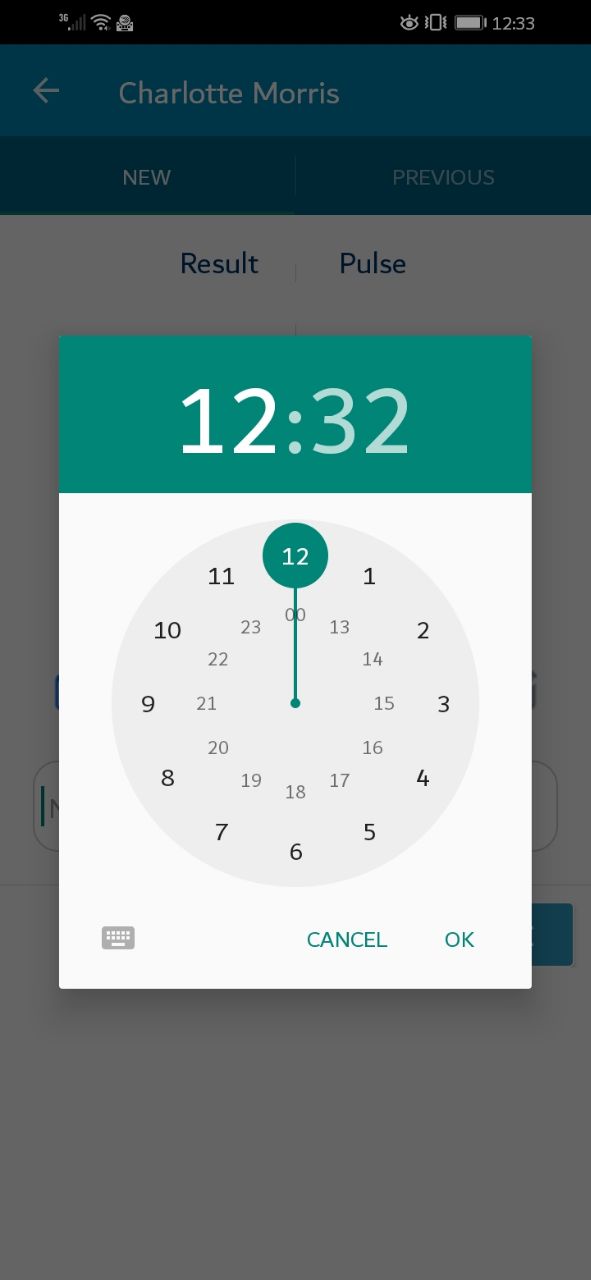
You can enter the time you need, press on the icon at the bottom right of the screen.
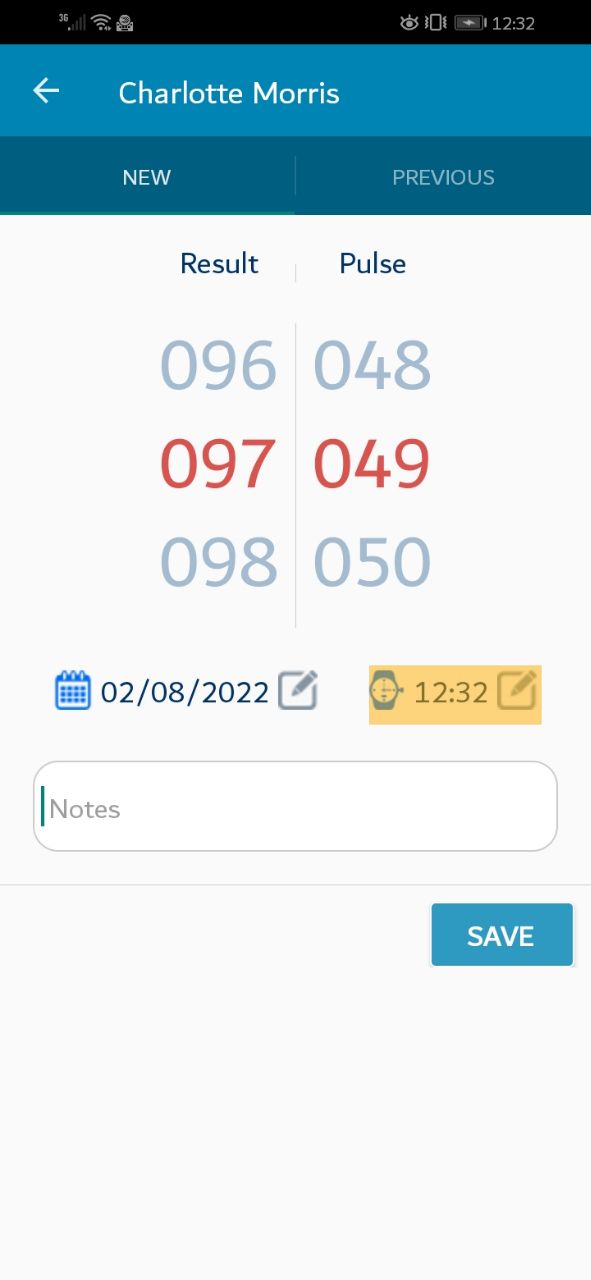
The time pop-up window should appear,Please set the appropriate time then click "ok"
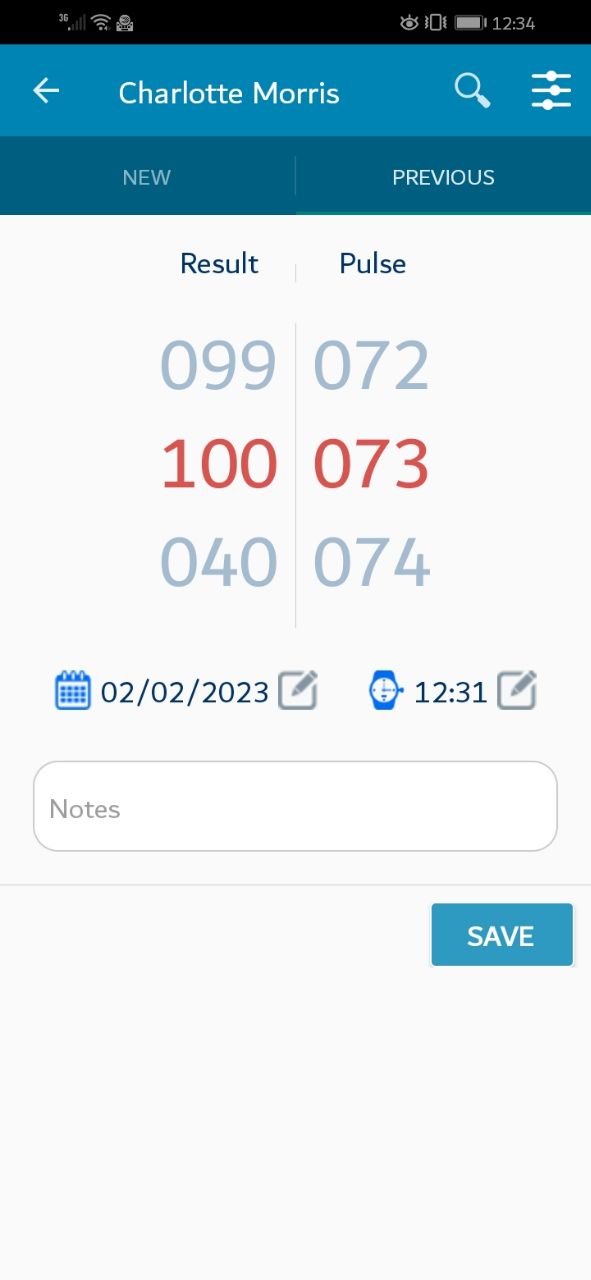
You can write some important Note while entering oxygen saturation